
Tulips
These are really easy – younger children will need a bit of help with the cutting but older ones will be able to have a go. Cut out the leaves. For the flower, cut out the shape and fold 3 times. We used a green plastic straw (the type with the bendy bit) – which we won’t be buying again to help the environment – but since we had them, we are using them up!
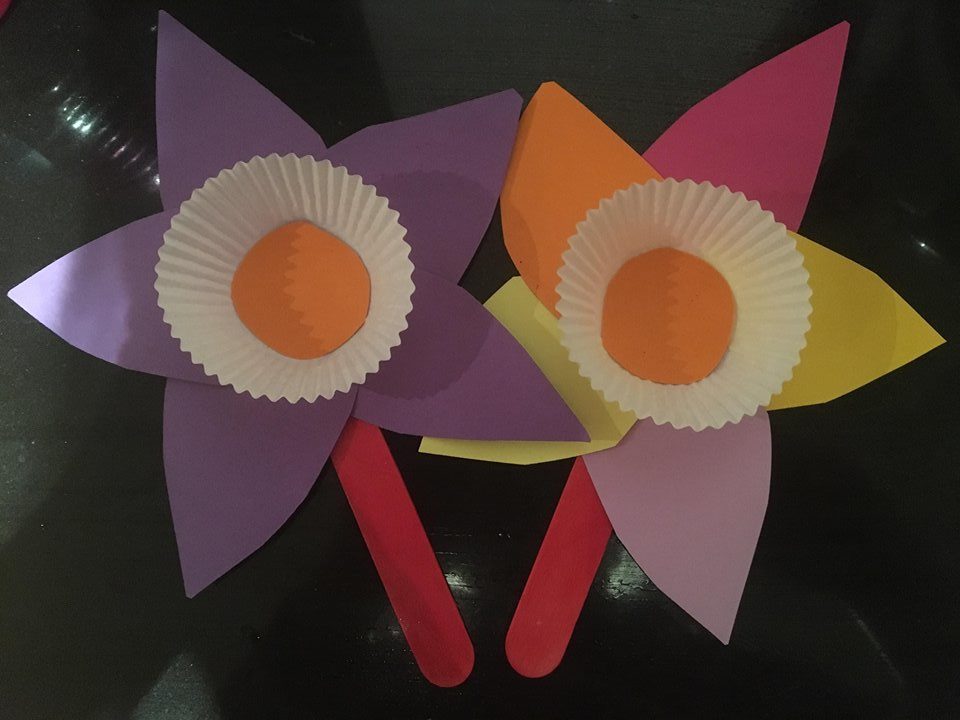
Daffodils
Again very easy and the children could decorate them with patterns, glitter, sticks etc. All you need is a lolly stick, petals (younger ones may need help cutting out), a circle and a cup case. The children loved using the glue sticks to assemble.
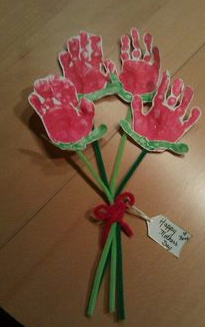
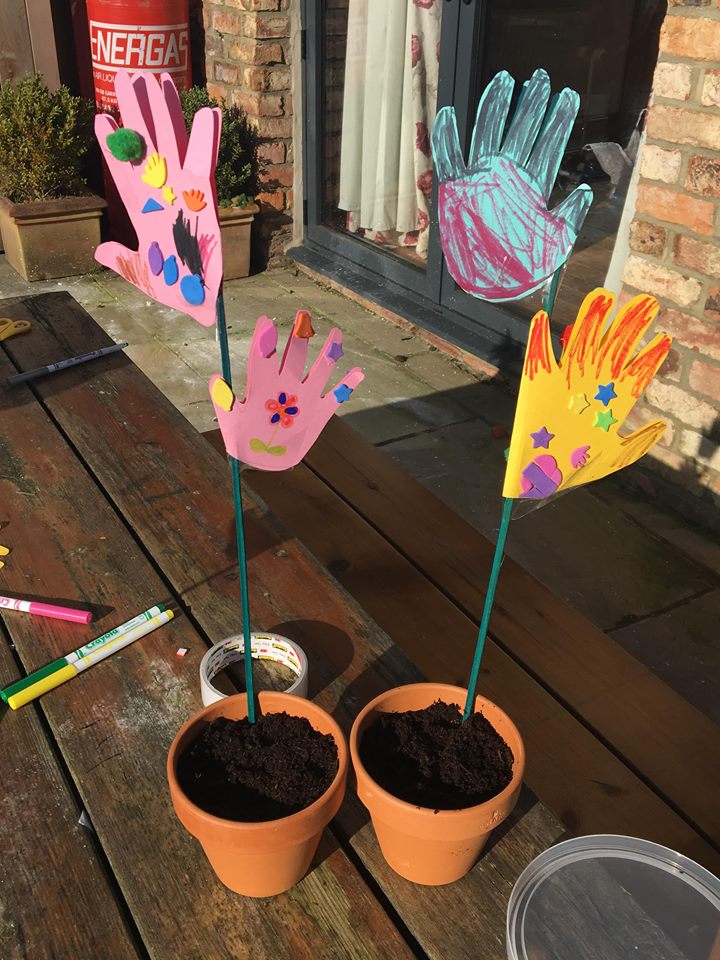
Handprint Flowers
A lovely gift to make with younger children and these were a big hit with grandparents last year! All you need is paint and some green pipe cleaners. Make handprints with the little ones, allow to dry, cut them out and then attach to the pipe cleaners and add a card.
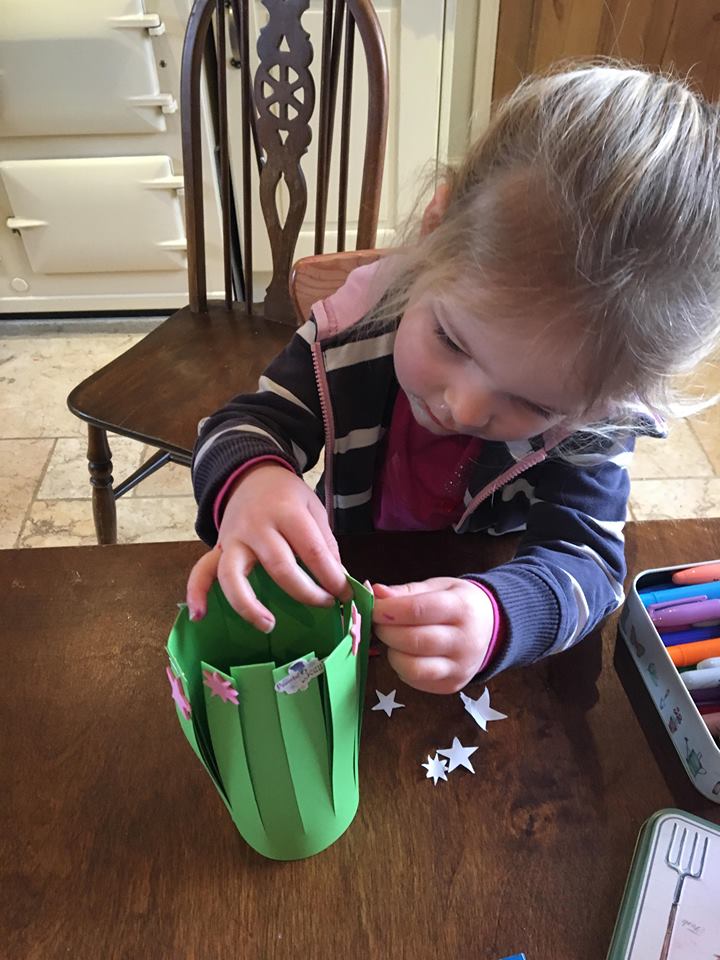
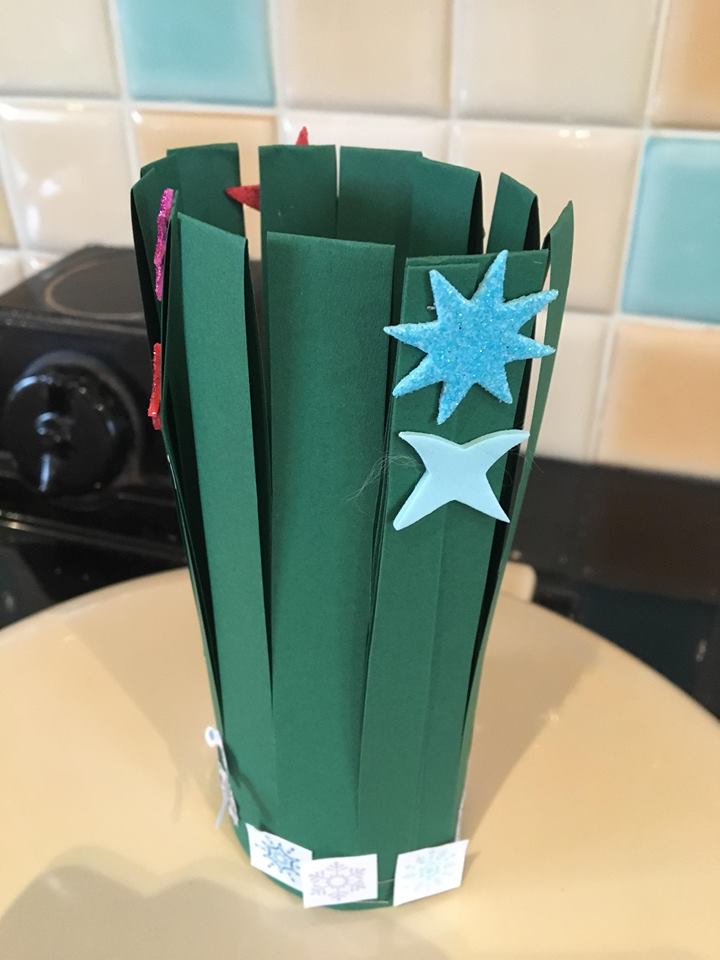

These are super easy to make. Fold the green paper in half and staple into a circle (top and bottom) then use the scissors to cut straight down, leaving bottom 1 – 2 cm intact. It depends how old your children are as to how much you will have to do. Let them decorate with stickers!
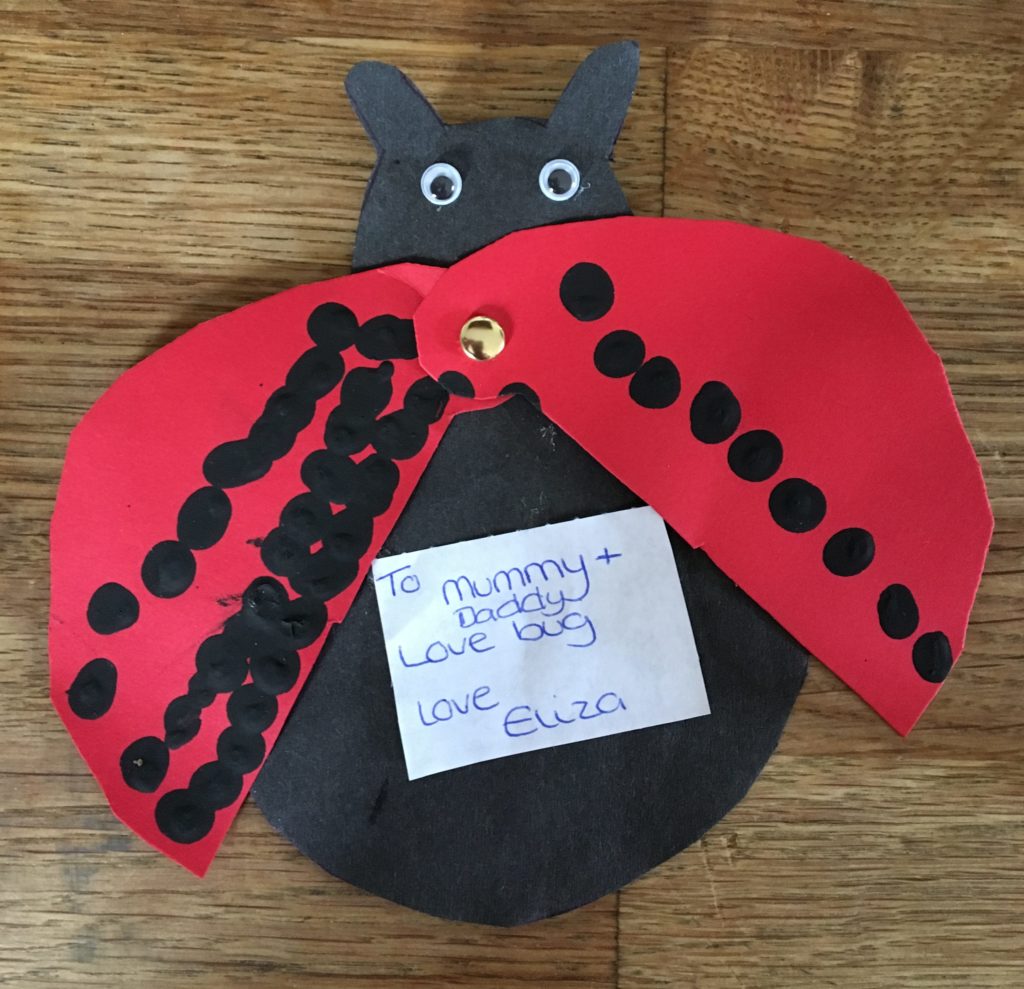
A Love Bug
Ryedale Mumbler’s daughter made this at nursery and we thought it was so lovely, and definitely something that could be done for Mother’s Day
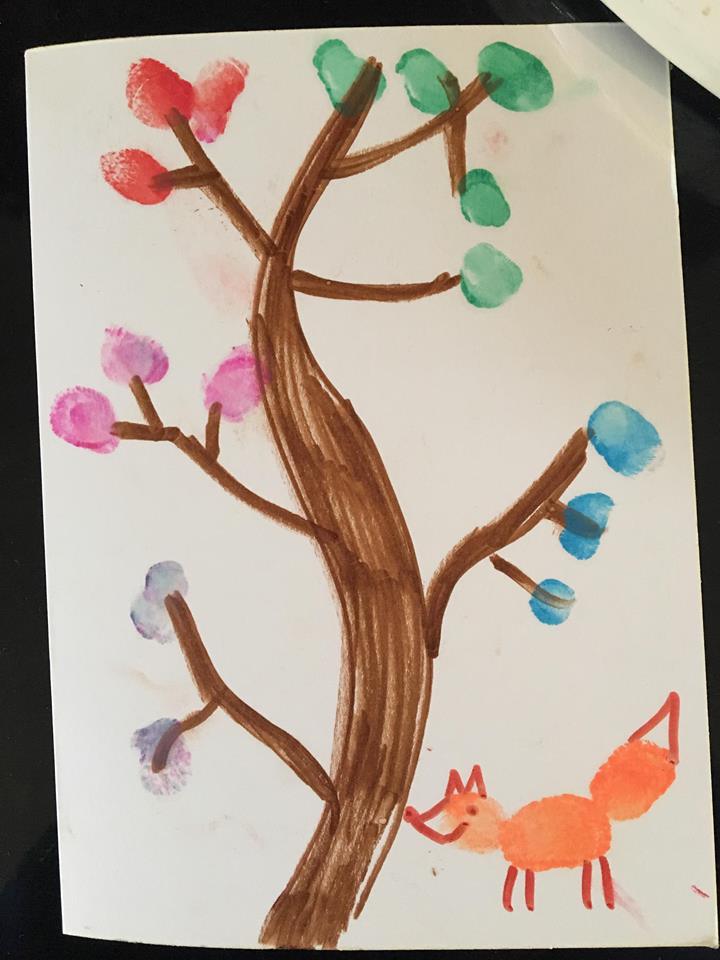
Finger Painted Cards
Since Christmas, we have been quite into finger printing. It’s really easy and lots of fun, although it does still get messy in our house! You can find loads of ideas on Pinterest.
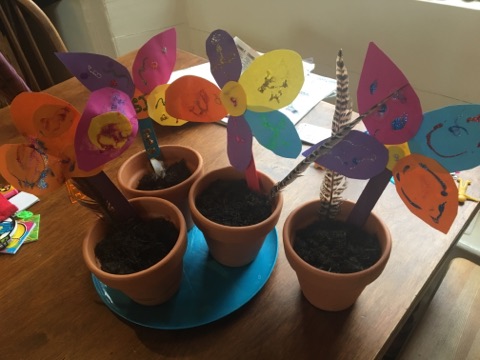
This is really easy and something you can use through the year. Gather a plant pot, seeds, compost, a stick, and something to decorate with. It’s a lovely present to give mum or granny, and hopefully it will grow and bloom. The children can decorate the “flag” (what my kids call it), and the pot too, if they like!


These beautiful and simple fingerprint heart ornaments are made from baking soda clay or salt dough. They are really easy and inexpensive to make. You could even mount them on a card or attach them to a bunch of mum’s favourite flowers. We sometimes hot glue a magnet onto the back for a personalised fridge magnet.
To make the clay you will need:
Simply put the bicarb and cornflour into a pan, then add the warm water. Stir over a medium heat until bubbles form and the mixture starts to pull away from the side of the pan.
Allow the dough to cool for a few minutes, then kneed.
You can use the dough warm or cold. Create your shapes, press the fingerprints and make a hole for the ribbon before baking at 80 C for about 2 hours, turning once. Paint the next day once they have dried thoroughly.
This would look really nice on a table, windowsill or bedside table, and is lovely for the kids to make. All you need is a jam jar, paper, primer, acrylic paint and a tag!
First, cut a heart shape out of paper, and put it on the front of your jar. Use the primer to cover the jar with a layer, and allow to dry. Then the fun begins – it’s time to paint! Let the kids be creative and embrace their inner Jackson Pollack (as long as you have newspaper down!!). Let them pick their own colours and as the paint dries they can paint or write the tag. Once it is dry, peel off the paper shape and put a candle inside. Use string or ribbon to attach the card.
If you can get the paper shape off in one piece, you can create a matching Mother’s Day card too!
One for the older kids now! These beautiful cards are easy to make and all you need is card and wool!
Have an adult punch holes in the desired shape – a heart or a flower maybe – then thread a needle and tie a knot at the end of the wool. The kids can then sew from the top to the bottom of the shape and work their way around until the whole area is covered. Maybe add an empty picture frame to mum’s present list so she can keep the card and see it every day.

Air Dry Clay Trinket Bowl
My mother-in-law loved these little bowls last year and still uses them to store bits and bobs in her bedroom. All you need is a pack of air dry clay, a rolling pin, a little bowl and some paint.
Roll out the clay, ask your child to press their hand into it and then you will need to carefully cut around their hand. Place the clay handprint into a little bowl to slightly curl the edges and fingers into a bowl, and leave to harden for 24 hours. Once dry, let the kids go to town with some paint. We sealed it with PVA glue, but you could use varnish.


Cookies
We all love a biscuit to dunk into our tea and the kids will enjoy cooking up a storm in the kitchen (and licking the spoon!) for Mother’s Day!
We really like this simple cookie recipe from BBC Good Food and you can even make a box for them from a paper plate and a ribbon.
These Chocolate Truffles… are yummy too.
Method
Break the chocolate and tip into a large bowl. Pour the cream and butter into a saucepan and heat gently until the butter melts and the cream reaches simmering point.
Remove from heat, then pour over the broken chocolate.
Stir the chocolate and cream together until smooth.
Add any flavourings to the truffle mix at this stage (divide the mixture between bowls and mix in liqueurs or other flavourings, a tsp at a time, to taste. Try bourbon, Grand Marnier, coconut rum or the zest and juice of an orange), or leave plain.
Cool and chill for at least 4 hrs.
To shape the truffles, dip a melon baller in hot water and scoop up balls of the mixture, then drop the truffles onto greaseproof paper. Or, lightly coat your hands in flavourless oil (such as sunflower) and roll the truffles between your palms. You could also use a piping bag to pipe rounds onto greaseproof paper.
Coat the truffles in chopped nuts or coconut or simply cocoa powder as soon as they are shaped.
Keep in the fridge for up to 3 days in an airtight container or they can be frozen for a month.
*** Pictures courtesy of Pinterest and Mumbler’s own ***